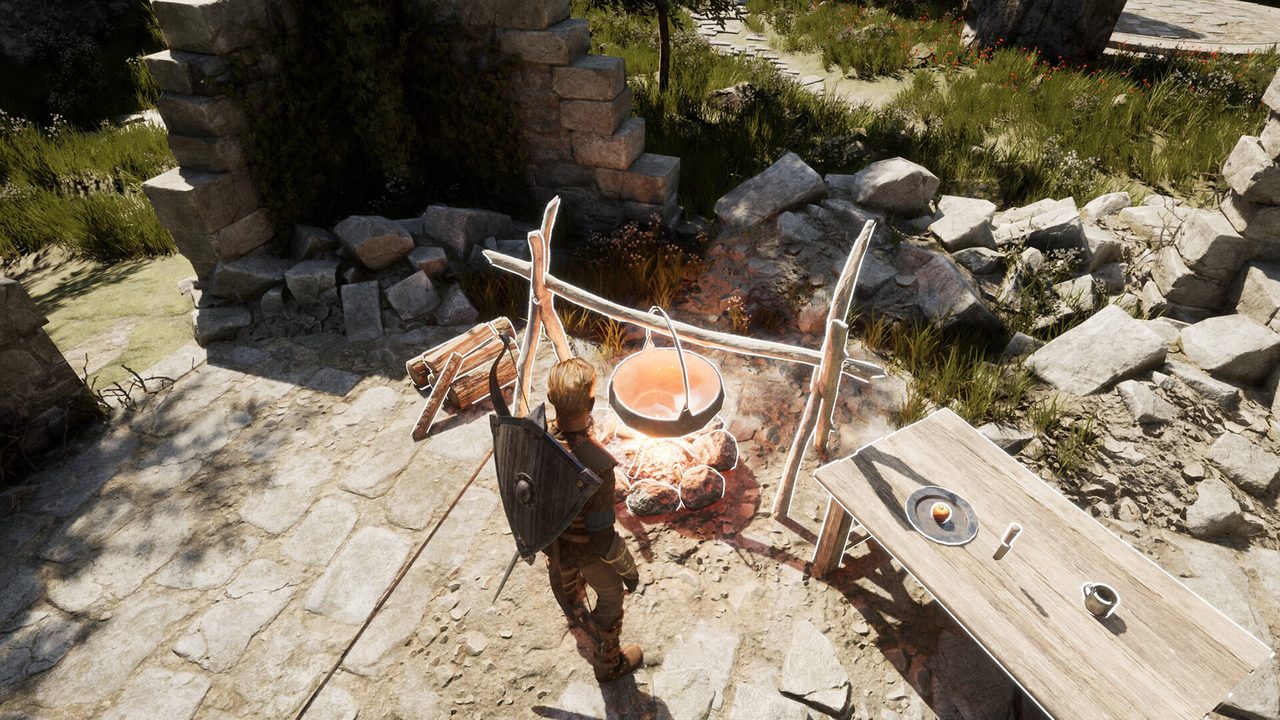
Before entering: treat camp as your reset point
The opening conversation introduces the camp as more than scenery. A merchant offers a bedroll and points out the smithy, cooking pot and Soul Forge. Glis accompanies you into the underground ruins. The practical implication is simple: look at your supplies and equipment before you commit to a run rather than treating every descent like a fresh level select.
At this point you do not need a mathematically perfect character build. Confirm what you actually own, learn where each station is and carry whatever healing the current version allows. The video sources show cooking, weapon crafting and gold-based attribute upgrades, but their menus and costs may change at release. Use the game’s live UI as the authority for costs.
If you are trying the downloadable demo before launch, remember that its available locations and story end do not define the full game. A demo completion prompt in recorded play explicitly invites repeat runs through its first two sections while more of the full game was still being developed.
- Talk through the camp introduction and note Glis’s rescue warning.
- Visit the smithy, cooking pot and Soul Forge to learn the stations’ roles.
- Equip your chosen weapon and check your currently available consumables.
- Enter the dungeon only once you understand how to return to the surface.
No fixed recipe, weapon damage figure or early-game build is claimed here until the retail rules are captured.
Inside: key first, then optional rewards
In pre-release demo footage, the key is placed differently between runs. Glis pulses when you approach it, which means an exact map coordinate copied from a video is less helpful than reading the companion’s signal. Sweep unvisited branches deliberately; when the pulse changes, slow down and search nearby instead of sprinting into new fights.
A tutorial displayed in a demo recording says the treasure room is optional and opens after its enemies are defeated. That is a distinct task from obtaining the boss-room key. If your immediate objective is survival or route familiarity, do not let a treasure-room detour force you to spend the last of your healing. If you have resources to spare, clear it before leaving when it is safe to do so.
Room layouts are assembled differently between runs, so the correct navigation technique is to record which branches you have cleared. Treat any apparent secret corridor or breakable wall as something to verify in your own build; a content creator discovering an object once is not evidence of a universal fixed location.
- Check the map and mark the branches you have already checked.
- Use Glis’s pulse as a local key signal rather than memorising video coordinates.
- Decide whether the optional treasure encounter is worth your remaining health.
- Approach the boss entrance with a plan to retreat or extract.
The key pulse and treasure conditions were visible in a pre-release demo; the retail build still needs confirmation.
At the exit: why banking a run matters
This is the main decision point in the loop. The recorded tutorial gives players a route to extract with what they gathered or continue towards a boss. The companion can rescue you after defeat, but the opening dialogue warns that you might not keep everything you were carrying. One demo tooltip explicitly describes loss of carried items and gold on death.
Consequently, your first run does not have to end with a boss kill. If you already found enough materials for a useful camp purchase, a safe extraction can be meaningful progress. If you continue, you are knowingly converting secured gains into a chance at the next section. Neither option is universally correct: the decision depends on your available healing, how well you recognise enemy attacks and how useful your unbanked items are.
Video play also shows a boss essence mechanic associated with skipping an earlier section on later runs. Treat that as a demo feature until checked in the retail version; it is not evidence that every boss always drops a particular amount or that every zone can be skipped at the same price.
| Your situation | Reasonable call | Why |
|---|---|---|
| Useful materials or gold secured, healing low | Extract | A haul only counts once it is back at camp — death can cost carried items and gold. |
| Stamina comfortable, consumables stocked | Take the boss route | You can absorb one mistake and learn the pattern for the next run. |
| First run, still learning the rooms | Extract early | Route knowledge is the real reward; you can re-enter without dropping what you carry. |
| Optional treasure room still uncleared | Decide before the boss door | The treasure gate sets its own fight — take it while your resources still cover it. |
- Inventory still valuable and healing low? Consider extraction.
- Confidence high and resources abundant? Inspect the boss path before committing.
- After returning to camp, convert what you collected into upgrades or provisions.
- Repeat the loop to test improvements instead of assuming one failed run erased all progress.
The published guide avoids drop rates and boss health numbers because no current retail source verifies them.
What to do after the first return
Your next objective is not merely “go deeper.” In recorded demo play, returning to camp lets the player revisit the crafting stations, spend gold at the Soul Forge and talk to Vanderin. New weapon options and healing can change how the same dungeon feels. If you are repeatedly dying to normal enemies, invest in a more comfortable survivability setup before spending every resource pursuing a specific boss.
To learn efficiently, change one thing between runs: another potion, a different weapon reach, an attribute upgrade or a more patient approach to stamina. Then compare how far you get. This is a practical testing routine, not a claim that any single upgrade has a verified optimum. Record which current-version combination worked; that is more useful than blindly copying an old demo UI screenshot.
If your session ends at the demo closing screen, that is not a hidden final boss. The pre-release demo footage shows a message about a two-section sample and asks players to return to camp. Full release is scheduled for September 18 UTC, so additional sections need a separate post-release evidence pass.
- Bank resources, revisit the smithy, cooking pot and Soul Forge.
- Check whether an upgrade meaningfully addresses the cause of your last defeat.
- Re-enter with one deliberate change to your approach.
- Record version-specific discoveries and do not generalise the demo ending to full release.
This page covers the recorded demo build; the retail build gets its own verification pass after the September 18 unlock.
Original sources and limitations
Compare footage with your game build. The links below provide context, not proof that the retail version shares every demo rule.