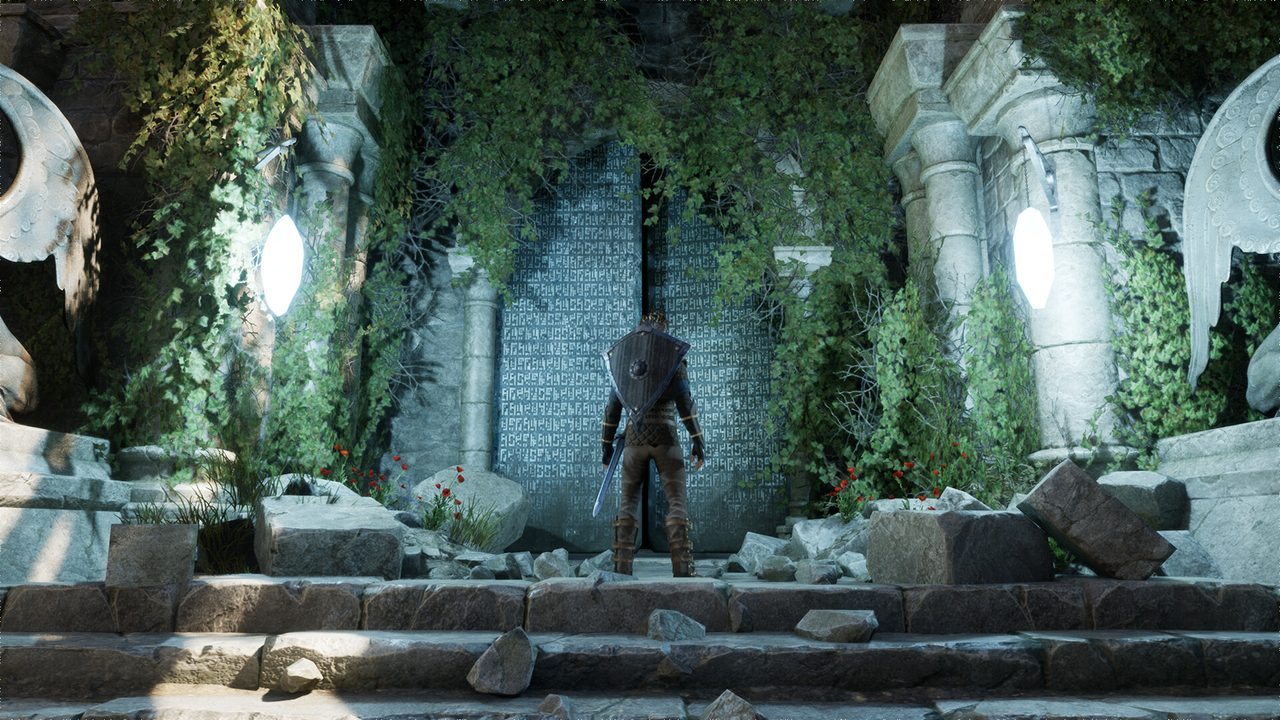
The short route: pulse, key, door, decision
The most useful confirmed clue in the footage is not a landmark: it is the light companion. The demo tutorial says the key is randomly placed each run, while Glis pulses in its vicinity. That immediately rules out an honest one-size-fits-all screenshot with a red X. A screenshot of one particular room may show the right kind of key but cannot tell you that the item will appear there next time.
Start with the map, clear a manageable route and revisit any unexplored junctions. The signal is local; use it to concentrate your search when it appears. Do not assume a particular hidden wall, container or enemy guarantees the key. Videos sometimes show different room sequences, which is consistent with Steam’s description of rearranged handcrafted rooms.
Once you have the key, distinguish the boss-door task from the optional treasure task. Collecting a key is not the same as winning every fight, and the tutorial describes the treasure gate as requiring the enemies to be defeated.
- Open the current run map and pick an uncleared branch.
- Search nearby when Glis begins pulsing.
- Use the key to approach the boss route when you are ready.
- Decide whether to clear the optional treasure room or leave it.
There is no verified current-version fixed key coordinate to publish.
Troubleshooting: when the key seems missing
First, check whether you have already opened a different branch or crossed a room without checking the edges. Retracing a cleared path is less useful than systematically exploring unopened branches. If Glis pulses, search the immediate room more thoroughly before moving on. Use the map to keep your search bounded.
Next, identify the actual gate you are trying to open. The optional treasure room and the boss area have different functions in recorded demo tutorials. If one door does not respond, an unmet enemy-clear condition may apply to the treasure room; it does not mean the key mechanic is broken. Conversely, possession of a key should not be treated as proof every encounter elsewhere has been cleared.
Finally, if a quest gate genuinely behaves differently in your build, record the precise message, current version and a screenshot. Older community reports include demo navigation issues, but that does not establish a current retail bug or a universal workaround. Reproduce the state before recommending a restart.
| Symptom | Likely cause | What to do |
|---|---|---|
| No key after a long sweep | Unsearched branch, or the pulse was missed | Re-open the map, pick an unvisited junction and search nearby when Glis shifts tone. |
| Treasure door will not open | Enemies in that room are still alive | The recorded tutorial binds the treasure gate to clearing its room first. |
| Glis seems silent | You may be far from the key zone | Rooms reshuffle between runs — widen the sweep instead of re-walking old ground. |
| A gate behaves oddly | Build or UI version differs | Capture the exact prompt, version and route before reporting anything. |
- Check the map rather than taking the same corridor repeatedly.
- Respond to Glis’s signal by searching locally.
- Check which door you are actually approaching and whether enemies remain.
- Capture exact UI text before reporting a possible bug.
An older demo player report cannot prove the September retail version is broken.
Treasure or boss: the risk decision
The demo marks the treasure room as optional and indicates that it unlocks after its enemies are eliminated. Clearing it can increase your haul, but every extra encounter consumes time and can consume health or potions. The decision depends on whether that potential reward justifies further risk for the current loadout.
The boss route is a second commitment. A recorded tooltip offers extraction or continuation, and death is presented as costly to your carried items and gold. If this is your first trip or your resources would fund a needed camp upgrade, extracting early can be a rational learning strategy. You can return stronger and use the same dungeon loop again.
Boss essence is observed in a demo as a means to skip a previously cleared section on later runs. This guide deliberately does not give a fixed essence cost or universal drop rule. Both the availability and price should be rechecked after the release build is accessible.
- Before boss entry, inspect healing and stamina management.
- Compare the value of what you already carry against a further boss attempt.
- If extracting, return to camp and invest the haul.
- If proceeding, treat the boss as a new encounter rather than an easy continuation.
There is no supported promise of guaranteed loot, skips or fixed boss rewards.
Run notes you can reuse without a fabricated map
A text checklist is safer than a fake interactive map when rooms reshuffle and current coordinates have not been verified. Write down whether Glis signalled the key, whether the boss access is open, whether the optional treasure gate was cleared and whether you returned safely. These are observable events across a run rather than guessed world positions.
You can use our run checklist to follow that workflow. It stores selections only in your current browser session and can encode the selected item IDs in a URL for a shared personal checklist; it is not connected to Steam saves and it does not imply the game tracks these exact achievements.
For a rigorous visual walkthrough, we still need current build screenshots of the key signal, map, boss gate and extraction prompt. This page links the source footage instead of drawing a made-up minimap.
- Open the run checklist and tick only actions you actually completed.
- Use the original gameplay link when you need visual context.
- After release, replace demo statements only after their current-version counterparts are tested.
There is no per-room hotspot map here on purpose: key placement changes between runs, so a fixed map would be fiction.
Original sources and limitations
Compare footage with your game build. The links below provide context, not proof that the retail version shares every demo rule.